|
Instructions:
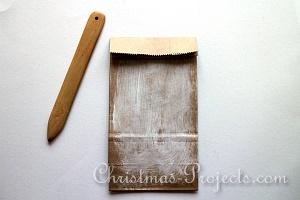
1. First fold over a flap on your bag and use a bone folder to crease the edge. Then roughly paint the space underneath the flap with white acrylic paint. The paint does not have to look perfect and parts of the bag can show through. That will add to the charm of the project. Let the paint dry.
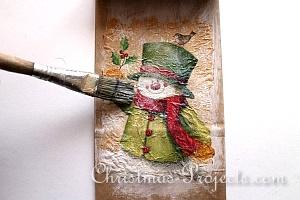
2. Tear your napkin motif out a little less than the width of the bag. Then remove all but the top layer of your napkin. Place it on the bag and then brush deocupage glue over the motif. Start from the center and work your way outwards. Be careful not to rip the napkin in the process. Many of the wrinkles will disappear when the motif dries. If any wrinkles remain, you can always place a piece of baking paper over the bag and iron them flat. Then set aside to dry. If you would like the bag to have the motif flat on it, then continue onto step 8. If you would like additional dimension to your bag continue then with step 3.
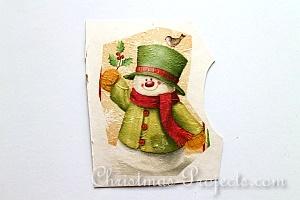
3. While the bag is drying, cut a second snowman motif out. It does not have to be perfectly cut out at this point. Then use again the decoupage glue and brush the motif onto a piece of scrap card or the backside of a lightly colored box side like from a cereal box.
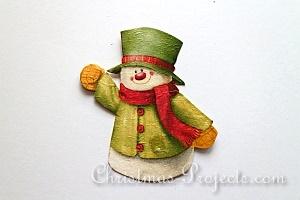
4. Once the glue has dried, you can then cut the snowman (or other motif) out exactly.
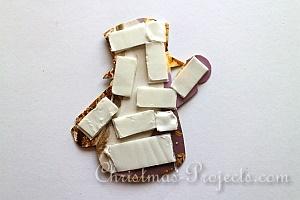
5. Adhere 3-D double sided adhesive to the backside of the motif.
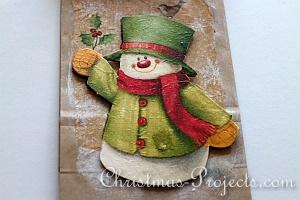
6. When the paper bag motif is dry, you can then adhere the second snowman motif over the bag motif.
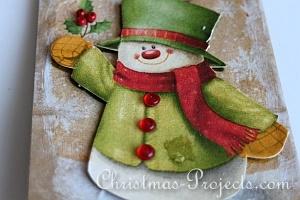
7. If you like, you can embellish your motif with a few beads or other items.
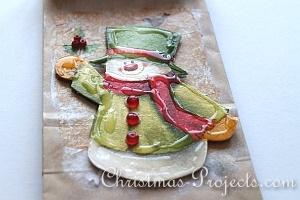
8. Then go around the edges of your motif with glue.
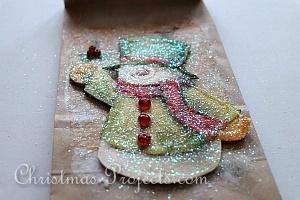
9. Shake glitter onto the glue. It will only adhere to the wet glue. Let the glue dry and then tap off the excess glitter.
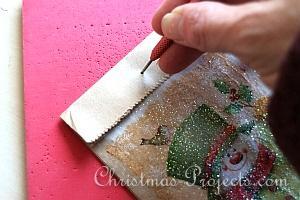
10. Poke a hole through the center of the flap.
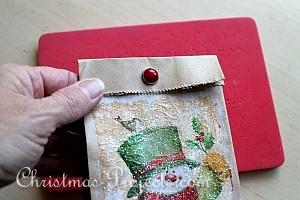
11. Fill the bag and then use a decorative brad to then close off the bag.
|