|
Instructions for the masterboard:
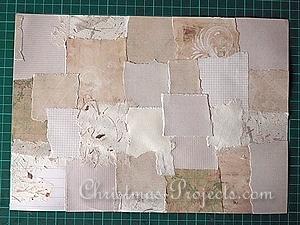
1. Tear squares and rectangles out of your chosen paper. Then glue these on to the paper underground, overlapping each one until the entire page is covered.
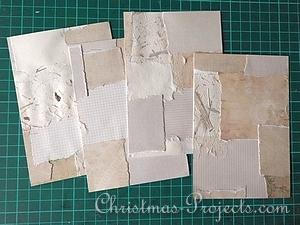
2. If any pieces are hanging over the edge, turn the paper around and cut the overhang away along the edge of the paper.
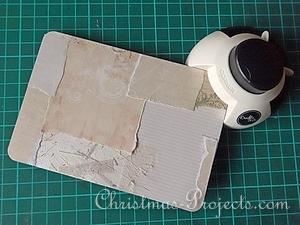
3. One page of typing paper is enough to create four 4x6 inch (or 10x15 cm) cards. Cut the paper accordingly to achieve the 4 cards. If you want, round the edges at this point. If any paper is left over, you can keep them for further projects.
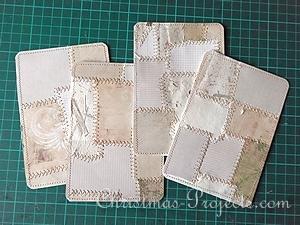
4. Sew around each of the cards. Then use a zig-zag stitch and sew around each seam of the glued on papers. decorative stitch along each of the seams on the card.
Now it is time to decorate the cards:
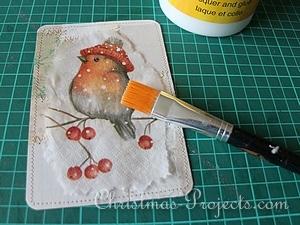
5. Tear your paper napkin motif out and remove the 2 bottom layers. These can be saved for future decoupage projects. Apply glue to the paint brush and then carefully brush the motive onto the card. Start in the middle of the motif and work your way to the edge of the torn napkin.
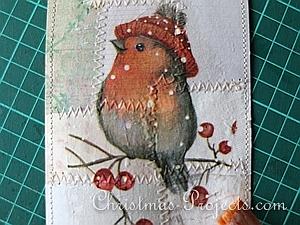
6. Let the glue dry before continuing. The zig-zag pattern shows nicely through the thin layer of napkin.
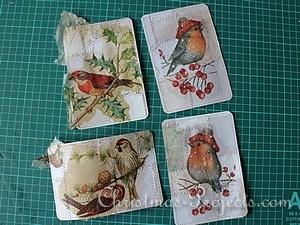
7. The other 3 cards were decorated in the same manner. If there are any pieces of napkin haging over the edge, turn the card over and cut it away along the card edge. Now glue each of these cards on white folded cards.
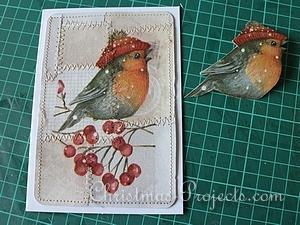
8. You can achieve a 3-D look by simply creating a second bird using the technique written above for paper napkin decoupage. Use a scrap piece of card for it. Once the second motif is dry, cut it exactly out and apply with 3-D pads onto the card motif.
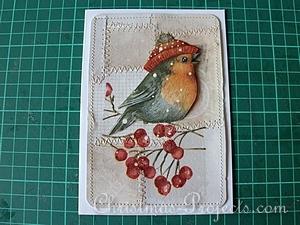
9. This is how the card looks at this point.
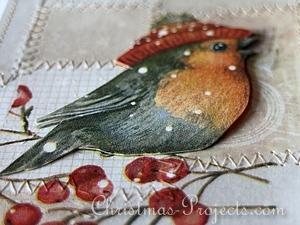
10. Here you can see the 3-D effect.
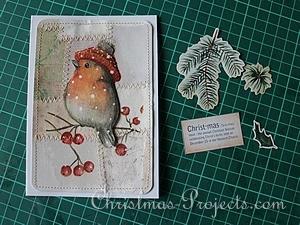
11. Small pieces of ephemera were added to the card to give it more interest.
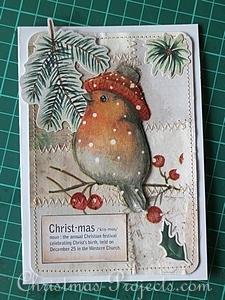
12. Cut away any excess pieces haning over the card.
|