|
Instructions for the masterboard:
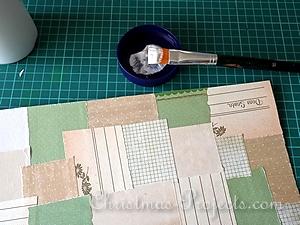
1. Tear squares and rectangles out of your chosen paper. Then glue these on to the cardboard underground, overlapping each one until the entire board is covered.
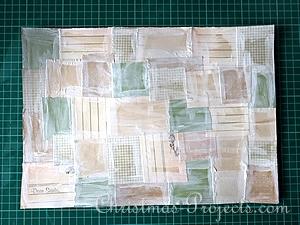
2. If any pieces are hanging over the edge, turn the board around and cut the overhang away along the edge of the board. Now use white gesso and lightly paint over the seams where the papers meet to soften the look. Let gesso dry before continuing.
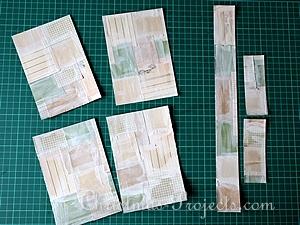
3. Then cut out your cards. The board we used created four 4x6 inch cards A couple of strips were also left over that can be used for bookmarkers, for example.
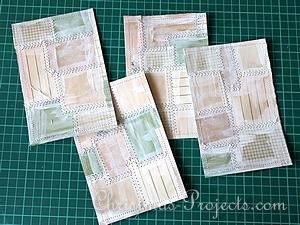
4. Sew a decorative stitch along each of the seams on the card.
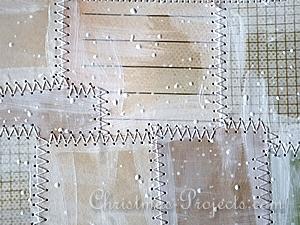
5. Once dry, you can splatter drops of white paint onto the card to give it a look of falling snow. Let the paint dry before continuing.
Now it is time to decorate the card pieces:
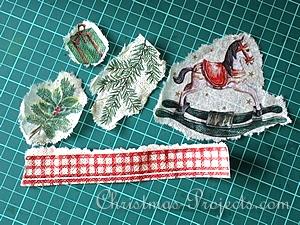
6. To decorate the cards, images were torn out of the paper napkin. Tearing instead of cutting gives the images a softer look without harsh edges. They blend in better with the background that way.
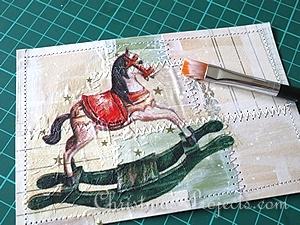
7. Place your first motif onto the card. Using paper napkin applique glue or Mod Podge, apply the glue with a soft brush on to the motif as if you are painting it on.
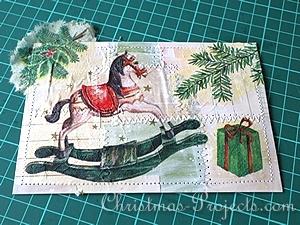
8. Continue with the remaining motofs. Some motifs can hang over the sides. Just brush on the card and the excess can be cut away once the glue is dry.
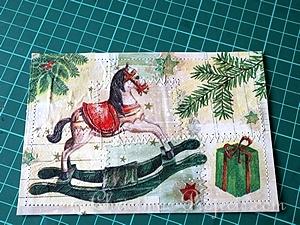
9. This is how the card looks at this point.
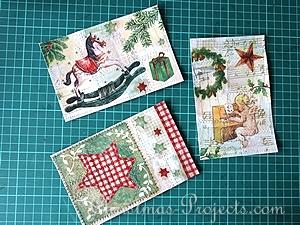
10. All 3 cards are now finished. Glue these onto a white folded card. Place a book or two onto the cards to press them flat while the glue is drying.
|