|
Instructions for the masterboard:
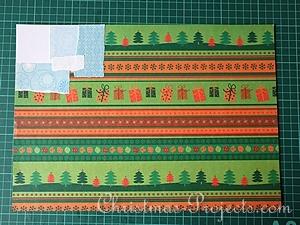
1. Tear squares and rectangles of light blue and white paper. Then glue these on to the cardboard underground, overlapping each one until the entire board is covered.
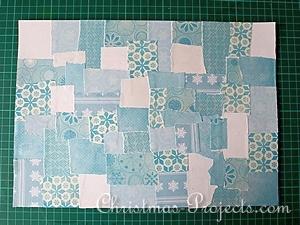
2. If any pieces are hanging over the edge, turn the board around and cut the overhang away along the edge of the board.
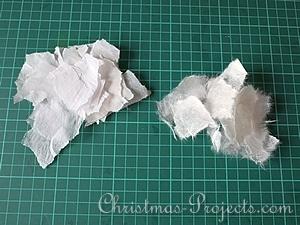
3. Tear pieces of tissue paper or thin fiber paper.
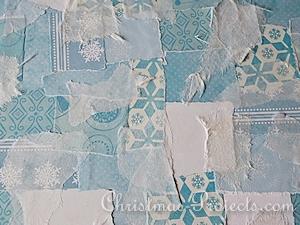
4. These are glued onto the masterboard over the papers to give the board a softer look.
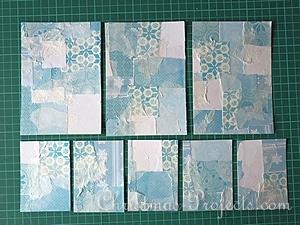
5. Then cut out your cards. The board we used created three 4x6 inch cards and 5 ATC sized cards (2 1/2 x 3 1/2 inches). A couple of strips were also left over that can be used for bookmarkers, for example.
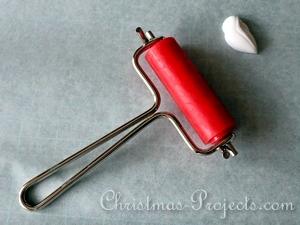
6. This step could have been done before the board was cut but can still be done at this point. If you wish for your cards to be even more wintery looking, you can use a brayer and acrylic paint to add more white color and texture to the card.
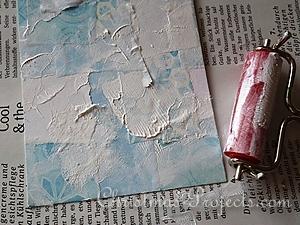
7. Just roll the brayer in the paint and then roll it over the card as you please or where you think more white color is needed for the winter look.
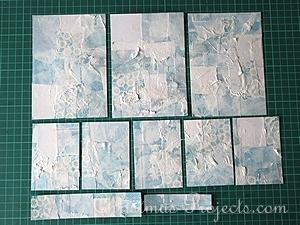
8. Now the cards are prepared for the next step and need to dry completely before continuing.
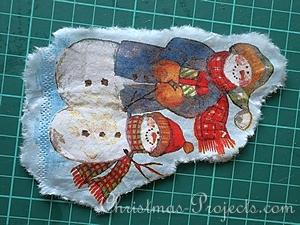
9. To decorate the cards, images were torn out of the paper napkin. Tearing instead of cutting gives the images a softer look without harsh edges. They blend in better with the background that way.
To tear, you can use one of two methods. You can use a wet brush and “draw” around the image to be cut out and then carefully pull the excess napkin away from the motif. Or you can simply use both hands and carefully tear around the image. Keep all 3 plys together for this step and it is easier to hold and tear.
When the motif is torn out, remove all but the top layer. That is the layer you will be using for the card. The bottom layers can be kept to use for collaging over later masterboards for the softer look.
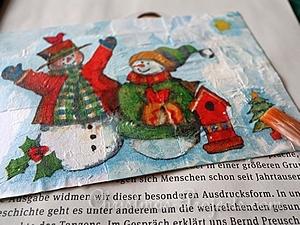
10. When the card is ready to be decorated, you can “paint” on your paper napkin image. Place the image on the card where you want it to be. Dip your brush into the paper napkin glue and then brush the glue softly from the center of the image towards the outer edges of the napkin. The glue holds the image down onto the card and blends it onto the background. Repeat for the other cards and let the cards dry before continuing.
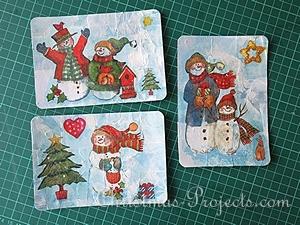
11. Now all 3 cards are ready for the next step. First the edges were rounded (optional).
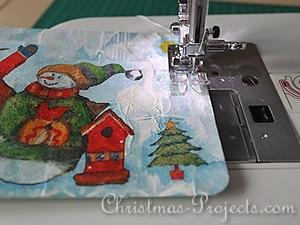
12. A sewing machine was used to stitch around them using a 1/4 inch or 7 mm border to give them extra interest. You can leave this sewing step out if you do not like the look of it or do not have a sewing machine.
Then glue the finished piece onto a piece of white folded card. Place a couple of books onto the card until it dries.
|