|
Step-by-Step Instructions - Patchwork Star Table Decoration or Tree Skirt - Page 1
Material List for this Patchwork Star:
- Christmas fabric scraps that look well together
- enough matching fabric for the back side of the star
- fusible interfacing with printed quilters grid (in 60° angle rhombus grid)
- matching sewing thread
- quilter’s ruler
- scissors
- permanent marking pen or pencil
- basic sewing supplies
Time required: about 2-3 hours
Difficulty Level: Requires some patchwork sewing experience
Sew all pieces with a 1/4” or 7mm seam allowance.
|
|
|
|
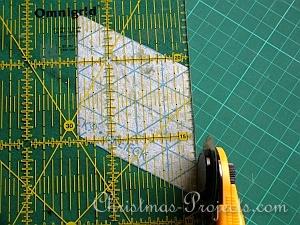
1. The first thing you need to do is to cut the printed interfacing into 6 rhombus shapes. You can cut the as large or as small as you like but all need to be them same size.
|
|
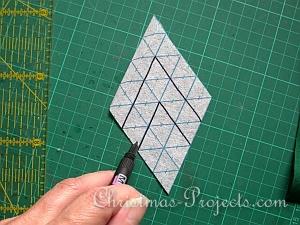
2. Take your permanent marker or pencil and mark the lines like you see in the picture above. Do this on both sides. These will be your sewing and postitioning lines.
|
|
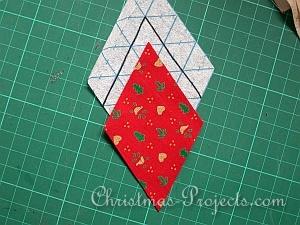
3. Cut six rhombus shape centers out larger than the center marked area of your interfacing piece. Lay the first center on the interfacing with right side up. Place it between the 2 marked lines. This will guarantee the seam allowance needed when the next piece gets added.
|
|
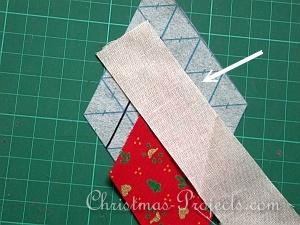
4. Place your first strip with the right side down over the center piece like you see in the picture above. Allign the right side edges and pin if necessary to hold in place Make sure the strip is extending over the next marked line.
|
|
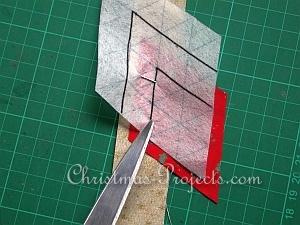
5. Flip the pieces over, making sure that it all stays alligned.
|
|
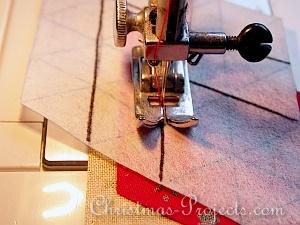
6. Starting at the top of the bottom point, sew now the left marking from this point to the end.
|
|
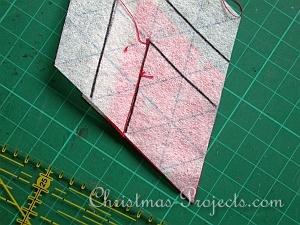
7. This is how it now looks on the back side.
|
|
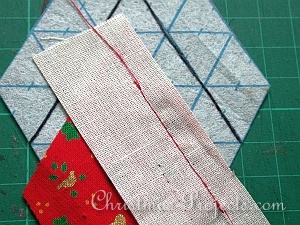
8. Flip your work over again. This is now how it looks on the front side.
|
|
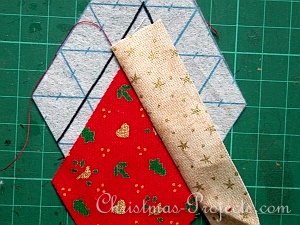
9. Fold the fabric over and press flat if necessary. This is how it now looks on the front side.
|
|
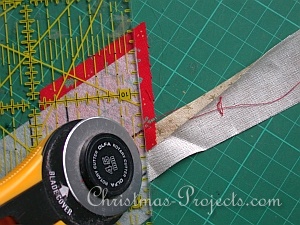
10. Flip your work over again and use your ruler and roll cutter to cut away excess fabric extending over the interfacing on the backside.
|
|
|
|
To continue, click here >>>
<<< Back to Project Details and Picture >>>
|
|
|
|
|
|
|